
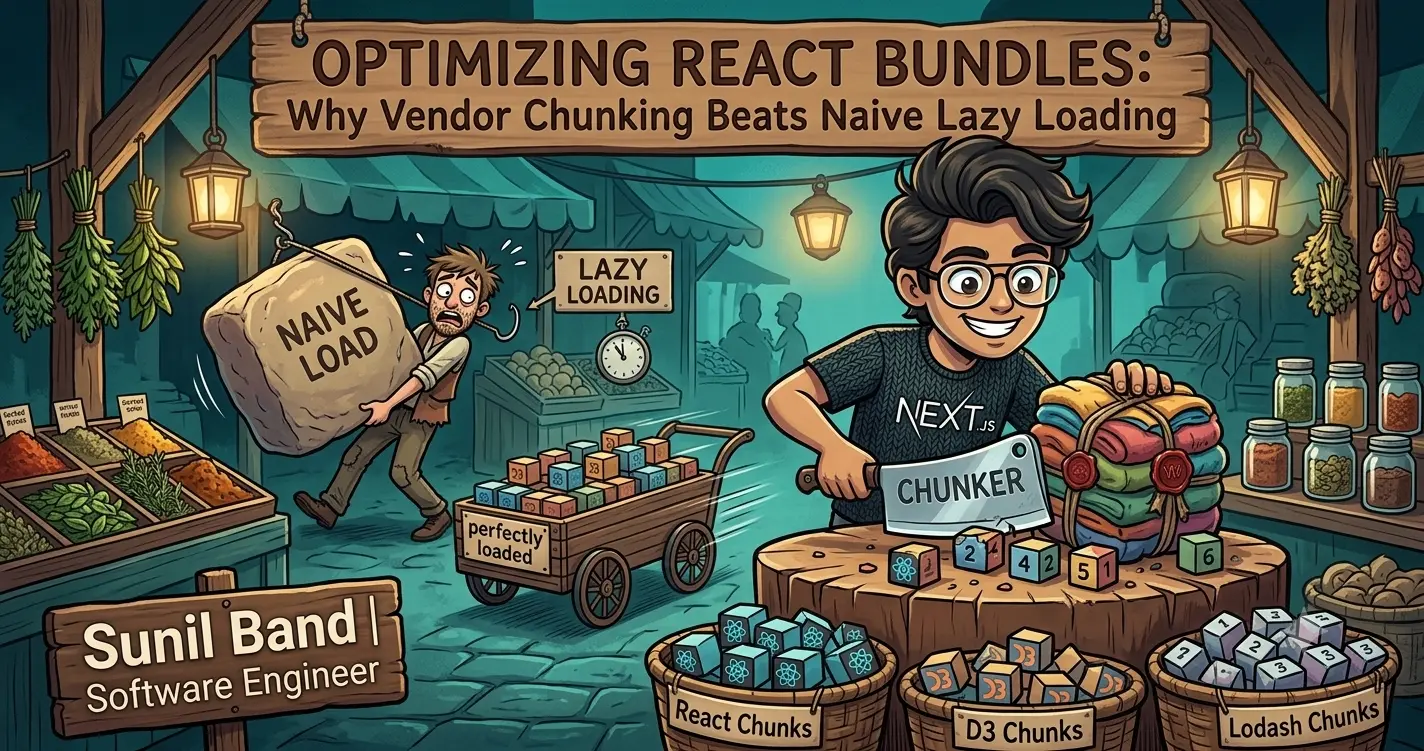
Optimizing React Bundles: Why Vendor Chunking Beats Naive Lazy Loading
Lazy loading is great, but splitting your bundle into arbitrary component chunks often misses the bigger picture. Vendor chunking, on the other hand, strategically isolates stable dependencies, leading to better cache hit rates and a genuinely faster user experience.
by Sunil Band
Why Your "Optimized" React App Still Feels Slow
We've all been there: staring at a Lighthouse report, trying to shave off those precious milliseconds. The first thing everyone reaches for is lazy loading via React.lazy and Suspense. And it helps, don't get me wrong. Breaking up a monolithic application bundle into smaller, on-demand chunks is a significant improvement over shipping everything upfront.
But after the initial wins, you might notice your performance plateaus. Your total bundle size is down, but network requests for new chunks are still frequent, and the browser's cache isn't being utilized as effectively as it could be. This is where a more nuanced approach to bundling, specifically vendor chunking, becomes critical.
The Problem with Naive Lazy Loading
When you lazy load a component, like a large modal or a specific page, you're instructing the bundler to create a separate JavaScript file for just that component and its direct dependencies. This sounds good in theory. The user only downloads the code they need, when they need it.
However, consider a scenario where multiple components across your application rely on the same large third-party library, say, lodash-es or react-chartjs-2. If each lazy-loaded component bundles its own copy of these shared dependencies, you're actually re-downloading the same code multiple times, just in different .js files. The browser cache might help with individual chunks, but it's not optimal for shared code.
Even worse, if a shared dependency updates (e.g., lodash-es gets a patch release), every lazy-loaded component that includes it will generate a new hash, forcing users to re-download all those affected chunks. This negates the caching benefits you were hoping for. This is precisely the problem vendor chunking aims to solve.
What is Vendor Chunking?
Vendor chunking is a strategy where you instruct your bundler to separate stable third-party libraries (your 'vendors') into their own distinct JavaScript bundles. These bundles are typically large but change infrequently. Your application code, which changes much more often, then references these vendor chunks.
Here's why this is so powerful:
- Improved Caching: Once a user downloads your vendor chunk, it's likely to remain in their browser cache for a long time. When you deploy a new version of your application, only your application-specific code bundles will change, not the vendor bundles (unless you update a vendor dependency). This means users download far less data on subsequent visits and updates.
- Faster Initial Loads: While the vendor chunk might be large, it's downloaded once. Subsequent application chunks are smaller and faster to parse and execute because they don't contain duplicated vendor code.
- Better Network Utilization: Fewer repeated downloads of the same code mean less network traffic and a more efficient use of bandwidth.
It's about identifying the parts of your application that change rarely (vendors) and the parts that change frequently (your own code) and giving them separate caching lifecycles.
Implementing Vendor Chunking with Webpack (and Vite)
Most modern bundlers, including Webpack and Vite, offer mechanisms to implement vendor chunking. The core idea is to define a splitChunks optimization strategy. I'll focus on Webpack as it's still dominant, but the principles apply broadly.
Let's imagine a common Webpack setup. In your webpack.config.js, you'd typically have an optimization object. Here's a basic example of how to configure splitChunks for effective vendor chunking:
// webpack.config.js
const path = require('path');

module.exports = {
  mode: 'production',
  entry: './src/index.tsx',
  output: {
    filename: '[name].[contenthash].js',
    path: path.resolve(__dirname, 'dist'),
    clean: true,
  },
  optimization: {
    splitChunks: {
      chunks: 'all', // Apply to all chunks (initial, async, and vendor)
      minSize: 20000, // Minimum size of a chunk to be considered for splitting (20KB)
      maxInitialRequests: 30, // Max number of parallel requests on initial load
      maxAsyncRequests: 30, // Max number of parallel requests on demand
      cacheGroups: {
        vendor: {
          test: /[\\/]node_modules[\\/]/, // Regex to match modules from node_modules
          name: 'vendors', // Name of the chunk bundle
          priority: -10, // Lower priority than default for vendor modules
          reuseExistingChunk: true, // Reuse chunks if they already exist
        },
        // You can add more specific cache groups if needed, e.g., for large utility libraries
        // common: {
        //   minChunks: 2,
        //   priority: -20,
        //   reuseExistingChunk: true,
        // },
      },
    },
  },
  module: {
    rules: [
      {
        test: /\.(ts|tsx)$/,
        exclude: /node_modules/,
        use: 'ts-loader',
      },
    ],
  },
  resolve: {
    extensions: ['.tsx', '.ts', '.js'],
  },
};
Let's break down the key parts of the splitChunks configuration:
-
chunks: 'all': This is crucial. It tells Webpack to optimize all types of chunks – those loaded initially, those loaded asynchronously (import()), and your vendor chunks. -
minSize: Setting aminSize(e.g., 20KB) prevents Webpack from creating excessively tiny chunks, which can lead to too many HTTP requests. You'll need to tune this for your application. -
cacheGroups.vendor: This is where the magic happens for vendor chunking. -
test: /[\\/]node_modules[\\/]/: This regular expression tells Webpack to look for any module imported from thenode_modulesdirectory. These are your third-party dependencies. -
name: 'vendors': All modules matching thetestwill be bundled into a chunk namedvendors~[hash].js(Webpack automatically adds the hash and~). -
priority: -10: Cache groups have priorities. Higher priority means a module will be put into that cache group first. A negative priority here ensures that vendor modules are preferred for this group over default splitting rules. -
reuseExistingChunk: true: If a module has already been split into a chunk, Webpack will reuse it instead of creating a new one.
-
With this setup, your build output will typically include:
-
vendors.[contenthash].js: Contains all yournode_modulesdependencies. -
main.[contenthash].js: Your main application entry point and its direct dependencies (excluding vendors). -
[component-name].[contenthash].js: Any lazy-loaded component chunks, which will now be significantly smaller as they no longer bundle their own copies of vendor libraries.
Vendor Chunking with Vite
Vite, with its Rollup underpinnings, handles this a bit differently but achieves the same goal. You configure Rollup's manualChunks option in your vite.config.ts:
// vite.config.ts
import { defineConfig } from 'vite';
import react from '@vitejs/plugin-react';

export default defineConfig({
  plugins: [react()],
  build: {
    rollupOptions: {
      output: {
        manualChunks(id) {
          if (id.includes('node_modules')) {
            return 'vendor'; // All node_modules dependencies go into a 'vendor' chunk
          }
          // You can define other manual chunks here if needed
          // For example, to group large internal libraries:
          // if (id.includes('/src/components/charts/')) {
          //   return 'charts';
          // }
        },
      },
    },
  },
});
Vite's approach is often simpler because Rollup's default chunking is already quite intelligent. The manualChunks function gives you fine-grained control to define your own groups, and identifying node_modules is the most common use case for vendor splitting.
The Trade-offs and Gotchas
While vendor chunking offers significant performance benefits, it's not a silver bullet. There are a few considerations:
- Initial Download Size: The
vendorschunk itself can be quite large, especially if you have many dependencies. The first-time user will still need to download this substantial file. However, the long-term caching benefits usually outweigh this initial cost. - Configuration Complexity: For Webpack,
splitChunkscan be a beast to configure perfectly. TheminSize,maxInitialRequests, andmaxAsyncRequestsparameters need careful tuning based on your application's size and network conditions. Too many small chunks increase HTTP overhead; too few large chunks reduce parallelism. - Bundle Analysis is Key: You absolutely need a bundle analyzer tool (like
webpack-bundle-analyzerorrollup-plugin-visualizerfor Vite/Rollup) to understand your output. Without it, you're just guessing. These tools visually show you what's in each chunk and help you identify if your vendor chunking is working as intended or if you have unexpected duplications. - Managing New Dependencies: When you add a new, large
node_moduledependency, it will automatically go into your vendor chunk. This might increase its size, so keep an eye on your bundle reports after adding major libraries.
It's a balance. You want stable, rarely changing code in its own cacheable bundle, and frequently changing application code in smaller, easily invalidated chunks. Vendor chunking is a powerful tool to achieve this, but it requires thoughtful setup and continuous monitoring.
Wrapping up
Don't stop at just lazy loading your components. Take the next step in optimizing your React application's performance by strategically separating your third-party dependencies. Vendor chunking directly impacts your users' experience by improving cache hit rates and reducing overall data transfer.
To see this in action, clone a simple React project (like a create-react-app ejected project or a basic Vite setup), install webpack-bundle-analyzer or rollup-plugin-visualizer, and experiment with adding the splitChunks or manualChunks configuration. Compare the bundle output before and after. You'll likely be surprised by how much more efficient your application becomes.

When Your Frontend Needs to Process Files, Not Just Upload Them: Diving into WebAssembly
Sending user-generated files to a backend for processing often feels like the default, but it's not always the best solution. We'll explore how WebAssembly lets us handle complex file operations directly in the browser, boosting privacy and performance.

When Your Next.js App Needs to Speak Every Language: Diving into next-intl
Internationalization often feels like an afterthought until your product manager drops the 'global market' bomb. Suddenly, every string, date, and currency needs to adapt. While Next.js provides some primitives, a robust i18n solution is crucial, and next-intl makes this surprisingly elegant.

When Your React App Needs a 3D Dimension: Embracing React Three Fiber
Integrating 3D experiences into web applications used to be a mess of imperative Three.js code. React Three Fiber changes that, letting you build complex 3D scenes with familiar React components and state management. It's a game-changer for interactive visualizations and immersive UIs.


















